


Introduction
In this blog, we will cover the basics of how to get started with Google Colab to create machine learning projects with efficiency. We will learn what google colab is, and how it works, explore the colab interface and structure and learn about shortcut keys to work efficiently. Explore the colab environment, and how to connect colab with Google Drive and save the model progress on Google Drive.
Table of Content
- What is Google Colab?
- Exploring Colab Interface and Structure.
- Exploring Colab Shortcut Keys.
- Exploring the Colab environment
- How to Connect Colab with Google Drive?
- Save model progress on Google Drive
What is Google Colab?
Google Colab is an online notebook that runs entirely in the cloud and is used to run python code for machine learning, deep learning, and data analytics without installing anaconda and python environments on a local machine through the browser. It offers GPU and TPU usage. It is mainly used by data scientists and machine learning engineers.
Exploring Colab Interface and Structure
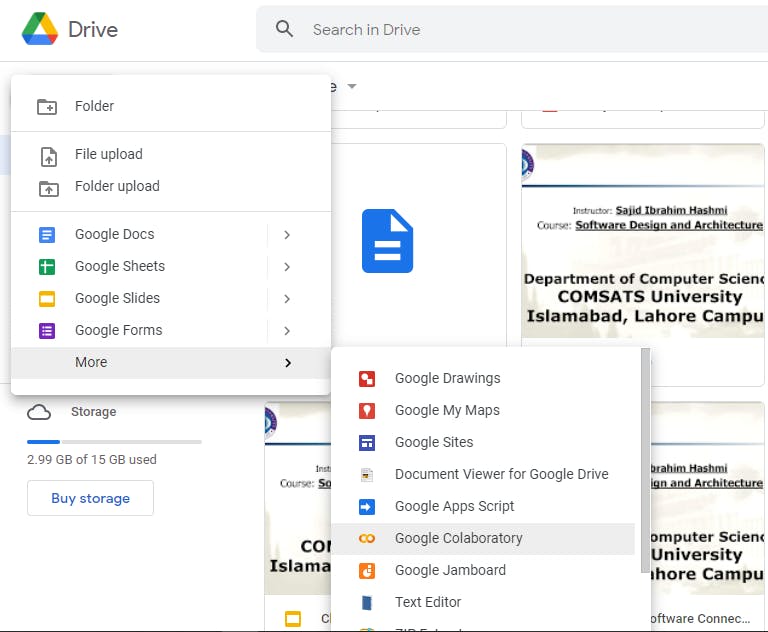
To create a colab file go to the browser and search for google colab you will get the link and a colab file will be created or just go to google drive and by clicking on the +New button hover on the More button and then click on google collaboratory a new colab file will be opened.
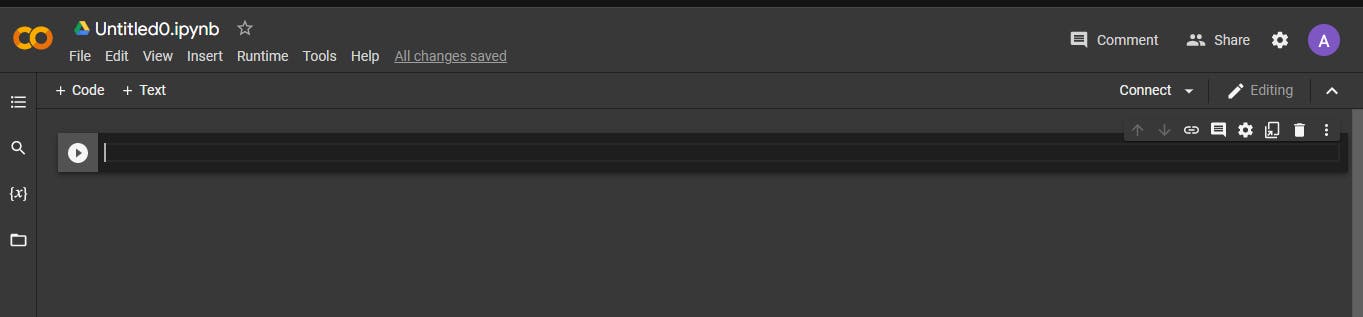
After opening up a new Notebook you can change settings according to your needs and share your notebook through drive with others.
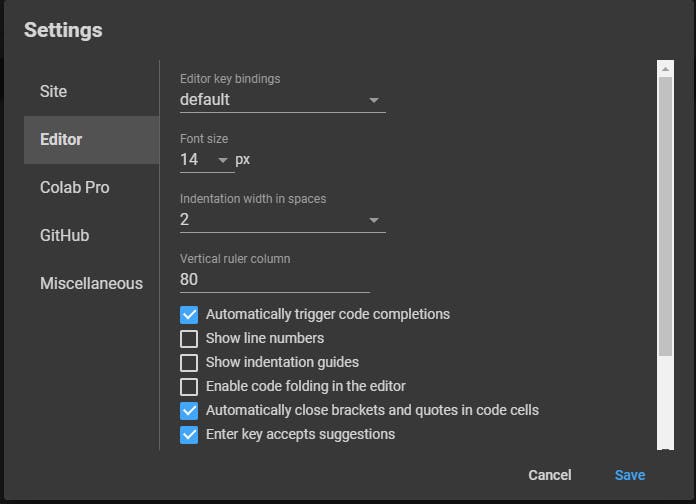
 In settings, we can change the notebook theme to dark and light, set editor key bindings and colors, change the font size, syntax checking, and more.
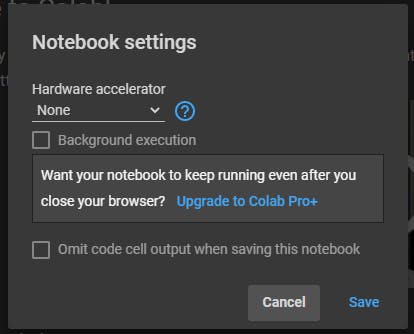
You can change runtime type by clicking on Runtime and then clicking Change runtime type. The following screen will be shown up.
Exploring Colab Shortcut Keys
- Command Palette: Use Ctrl+Shift+P key to get command palette.
- Add a comment: Use Ctrl+Alt+M key to add a comment
- Convert to text cell: Use Ctrl+M M key to convert cell into text cell.
- Add a new cell below: Use Ctrl+B B key to add a new cell below.
- Run all cells: Use Ctrl+F9 key to run all cells
- Run cell: Use Ctrl+Enter key to run cell.
- Save Notebook: Use Ctrl+S key to save a notebook.
- Show keyboard shortcuts: Use Ctrl+M H key to show keyboard shorcuts.
- Run cell and add new cell below: Use Alt + Enter key to run cell and add a new cell below.
- Run cell and goto cell below: Use Shift + Enter key to run cell and goto cell below.
- Undo last action: Use Ctrl + M + Z to undo last action inside a cell.
- Find and replace: Use Ctrl + M + H to find and replace.
- Insert code cell above: Use Ctrl + M + B to insert code cell above.
- Insert code cell below: Use Ctrl + M + B to insert code cell below.
- Delete cell: Use Ctrl + M + D to delete a cell.
- Indent: Use Ctrl + ] key indent line by two spaces.
- Unindent : Use Ctrl + [ key unindent line by two spaces.
Exploring the Colab environment
Google Colab does not provide a terminal to manage your Python environment. In python, to install libraries and other programs, we can use the ! character to run shell commands in the colab notebook just like in Jupyter notebooks, e.g. !pip install NumPy but Colab already comes pre-installed with a lot of the libraries we’ll need, such as NumPy, Pandas, etc.
- Wgnet is the command that will retrieve the dataset directly from the source straight to Google Drive without being downloaded to your computer.
!wget https://raw.githubusercontent.com/mrdbourke/tensorflowdeep-learning/main/extras/helper_functions.py
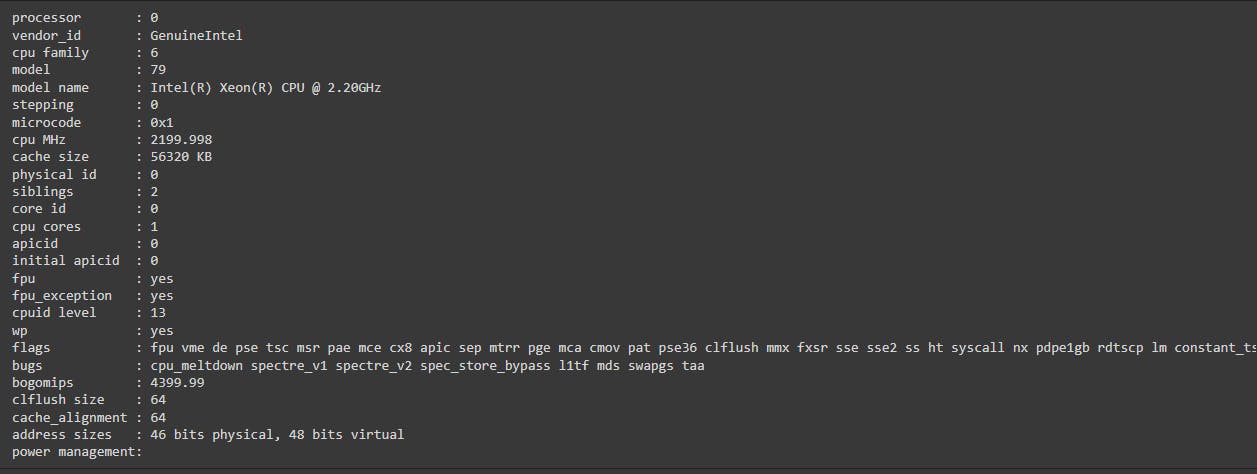
- Cat is a command by which we can check on the CPU and also check the hardware configuration of our Colab environment.
!cat /proc/cpuinfo
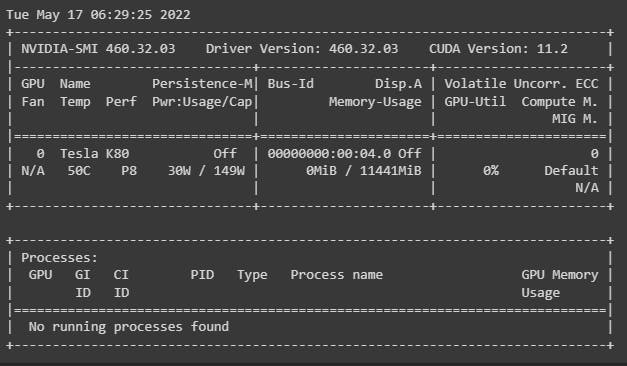
- Nvidia-smi is a command that helps us get to know that is GPU is attached to runtime or not.
- Kaggle is used to download datasets direct from Kaggle after installing kaggle.
!pip install kaggle
!kaggle datasets download iamsouravbanerjee/animal-image-dataset-90-different-animals
- Unzip is a command that is used to unzip the compressed files.
!unzip /content/animal-image-dataset-90-different-animals.zip
How to Connect Colab with Google Drive?
To connect colab with google drive we get access to files that are stored in the drive. To do so use the following code:
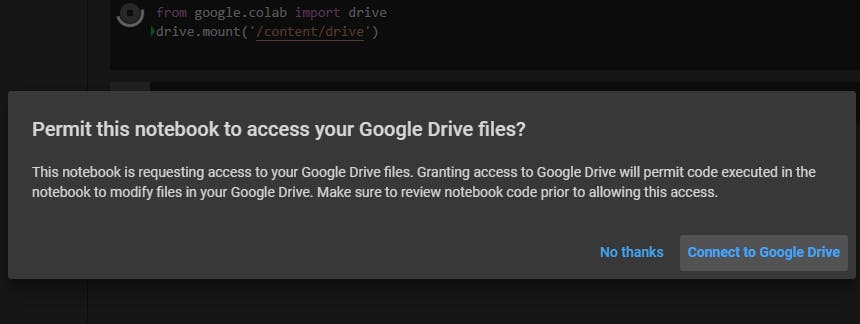
from google.colab import drive
drive.mount('/content/drive')
After running this code the following screen appears. Click on the Connect to google drive button.
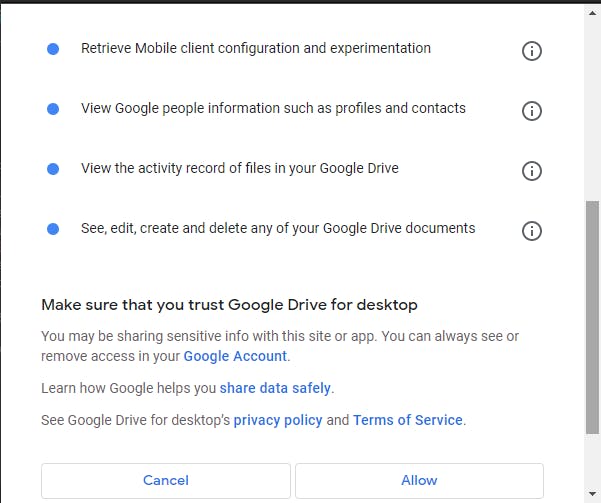
This will lead you to the following page. Click on allow button to connect google drive to colab notebook. After this, you will be able to use files inside google colab.
Save model progress on Google Drive.
Google Colab is providing free GPU resources for machine learning projects but google limits the time that we can use the Colab notebook in each session. After each session our kernel terminated, we have to restart our notebook and then again we need to do the functions again performed earlier. But what if we need to train our model and that model takes hours to complete training, the session will be terminated before training is completed.
To save the progress of that training phase we use the Google Colab extension to mount our Google Drive and Keras ModelCheckpoint callback, we can save our model progress on Google Drive. This is particularly useful to work around Colab timeouts. It is valuable if we don’t want to lose our partially trained model.
To do so use the following code.
import os
from google.colab import drive
drive_path= "/content/drive"
DATADIR = os.path.join(drive_path, "MyDrive")
drive.mount(drive_path)
After that, we need to declare a callback to save our checkpoint model to Google Drive. I used the following code to create a checkpoint for my model.
# Create checkpoint callback to save model for later use
checkpoint_path = "model_checkpoint"
checkpoint_callback = tf.keras.callbacks.ModelCheckpoint(checkpoint_path, save_weights_only=True, monitor="val_accuracy",  save_best_only=True)
After adding a checkpoint, if we again start training data but if the session is interrupted the training phase will be saved on that checkpoint and when we again start the session the training phase will start from where the session was interrupted not from starting.
Conclusion
This article covered the basic commands that'll help get you started using Google Colab. We also started learning how to use Google Colab. By the end of this article, I hope you are familiar with the colab environment.